Painters and Decorators Liverpool Blog

Are you planning to revamp the interior or exterior of your home in Liverpool? If so, finding the right painter and decorator is a crucial step in achieving the desired look and quality finish. At Painters and Decorators Liverpool, we understand the importance of making an informed decision when choosing a professional for your project. To ensure you hire the right painter and decorator, here are five must-ask questions that will help you make an informed decision. Are You Insured? Before you even discuss the project details, it's essential to verify that the painter and decorator you're considering is fully insured. In the UK, professional painters and decorators should carry public liability insurance. This insurance provides protection in case of accidents or damages that may occur during the project. Additionally, a valid insurance demonstrates their commitment to adhering to industry standards and regulations. What's Your Experience and Portfolio? Experience is a critical factor when hiring a painter and decorator. Ask about their previous projects and request to see a portfolio of their work. This will give you a clear idea of their skill, style, and the range of projects they have handled. A well-rounded portfolio will instil confidence in their ability to deliver the results you desire. Do You Provide Free and Detailed Quotations? A detailed and transparent quotation is essential for understanding the scope of the project and the associated costs. Ask the painter and decorator for a written, itemised quote that includes the cost of materials, labour, and any other expenses. Make sure the quote outlines the specific work to be done, including paint brands, colours, and the number of coats. This will help you avoid unexpected surprises and misunderstandings during the project. What's the Project Timeline? Understanding the estimated timeline for your project is crucial, especially if you have a specific deadline or need to plan around the work being done. Ask the painter and decorator about the expected start and completion dates. While factors like weather can impact outdoor projects, a seasoned professional should be able to provide a reasonable estimate based on their experience. What Are Your References and Guarantees? Reputable painters and decorators should be willing to provide references from previous clients. Contact these references to gain insight into their work ethics, reliability, and the quality of their finished projects. Additionally, inquire about any guarantees or warranties they offer. This is an important aspect of the project, as it demonstrates their commitment to customer satisfaction. Choosing the right painter and decorator for your Liverpool home is a decision that should not be taken lightly. By asking these five essential questions, you can make an informed choice and ensure that your project is in the hands of a trusted and skilled professional. At Painters and Decorators Liverpool , we are committed to providing top-quality painting and decorating services for your home. Our experienced team is always ready to answer these questions and more to ensure your complete satisfaction with the final results. Contact us today to discuss your project and receive a detailed, no-obligation quotation.

When it comes to enhancing the curb appeal and protecting the structural integrity of your home or business, exterior painting is a valuable investment. However, one of the most significant factors that can affect the success and longevity of your paint job is the weather. Painters and decorators in Liverpool, a city known for its variable climate, understand this all too well. In this article, we will explore the impact of weather on exterior painting and offer insights into how to ensure a durable and visually pleasing finish. Temperature Matters Temperature plays a crucial role in the exterior painting process. The ideal temperature for painting typically falls between 50°F to 85°F (10°C to 29°C). In Liverpool, where the weather can be quite unpredictable, timing your exterior paint job right is essential. Painting in excessively hot or cold conditions can lead to various problems. In high temperatures, paint can dry too quickly, causing brush marks and uneven coverage. On the other hand, painting in extremely cold conditions can result in slow drying times and poor adhesion. To avoid these issues, it's essential to consult with professional painters who are experienced in Liverpool's climate. They will know when the weather is most conducive to painting and can plan your project accordingly. Moisture Management: Temperature plays a crucial role in the exterior painting process. The ideal temperature for painting typically falls between 50°F to 85°F (10°C to 29°C). In Liverpool, where the weather can be quite unpredictable, timing your exterior paint job right is essential. Painting in excessively hot or cold conditions can lead to various problems. In high temperatures, paint can dry too quickly, causing brush marks and uneven coverage. On the other hand, painting in extremely cold conditions can result in slow drying times and poor adhesion. To avoid these issues, it's essential to consult with professional painters who are experienced in Liverpool's climate. They will know when the weather is most conducive to painting and can plan your project accordingly. Wind and Dust Liverpool's coastal location means that windy conditions are relatively common. Strong winds can carry dust, dirt, and debris, which can get trapped in the wet paint and mar the finish. To mitigate this issue, professional painters often take extra precautions. They may use windbreaks or wait for calmer days to ensure a clean and smooth paint job. UV Exposure The sun's ultraviolet (UV) rays can be harsh on exterior paint. Over time, UV exposure can cause paint to fade, chalk, and deteriorate. Liverpool does get its fair share of sunny days, so it's essential to choose high-quality paints that have UV-resistant properties. Additionally, applying a protective topcoat or sealer can help extend the life of your paint job. Conclusion In Liverpool, where the weather can be quite unpredictable, planning and preparation are key when it comes to exterior painting. Understanding the impact of weather on your paint job is the first step towards ensuring a long-lasting and visually appealing finish. By working with experienced painters and decorators in Liverpool, you can navigate the challenges posed by the climate and achieve the best possible results for your home or business. Remember that investing in professional painters who are knowledgeable about Liverpool's weather conditions is a smart choice. They have the expertise to select the right materials, plan the project around the weather, and execute the job to perfection, ensuring your property looks great and remains protected for years to come.
Introduction: If you are a homeowner in Liverpool considering hiring a painter and decorator to enhance your living space, it's essential to have a clear understanding of the potential costs involved. This blog post aims to shed light on the various factors that influence the pricing of painter and decorator services in Liverpool, allowing you to budget effectively and make informed decisions. Factors Influencing Cost: The cost of hiring a painter and decorator in Liverpool is influenced by several key factors. The size and complexity of the project play a significant role; painting an entire house will generally be more expensive than touch-up work on specific walls or trim. Additionally, projects with intricate detailing will require more time and, consequently, incur higher costs. Moreover, the choice of materials, such as premium paints and finishes, can impact on the final price, as quality materials generally come at a higher cost. Experienced decorators with a track record of delivering high-quality results may also charge more for their services. Average Painting and Decorating Prices in Liverpool: Based on recent estimates provided by local painters and decorators in Liverpool, basic painting work for a single room typically costs around £300. This rate includes essential supplies like brushes, rollers, and tape, but excludes additional materials such as wallpaper or paint stripper. For more extensive projects, like painting an entire 3-bedroom house or adding intricate trim work throughout the property, the cost can range from approximately £3000, depending on the project's size and complexity. For wallpaper hanging services, the rates are approximately £400 per room, while doing the hall, stairs, and landing may range from £600 to £750. For an exterior house painting job, a budget of around £1500 is recommended. Additionally, the standard day rate for a qualified decorator in Liverpool falls in the range of £150 to £250. Budgeting Tips: When budgeting for a decorator in Nottingham, it is wise to consider unforeseen circumstances by adding a 15% contingency to the estimated cost. This precautionary approach ensures that any unexpected challenges encountered during the project won't exceed your budget, resulting in a smoother and stress-free experience. Tips for Finding the Right Painter and Decorator: To find a reputable painter and decorator in Liverpool who offers quality work at a fair price, consider the following steps: Shop around and compare prices from different painters. Request references from potential contractors to evaluate their previous work. Ensure that pricing quotes include both labor costs and materials to avoid unexpected surprises. Conclusion: Hiring a trustworthy painter and decorator in Liverpool who provides excellent service at an affordable price is achievable with the right understanding and research. By considering the factors that influence pricing and carefully planning your budget, you can make an informed decision that meets your needs and ensures a successful home renovation. At Painters and Decorators Liverpool , we pride ourselves on delivering high-standard painting and decorating services at reasonable prices, without compromising on quality. For all your home renovation needs in Liverpool, contact Painters and Decorators Liverpool today, and rest assured, you won't be disappointed!
When it comes to transforming the appearance of a space quickly and affordably, Painters and Decorators Liverpool acknowledge painting your walls with a fresh coat of paint is the way to go. Julia Marcum, a product designer and DIY home blogger, attests to the transformative powers of paint, stating that it has the ability to make a plain room appear more upscale and even brighten up less desirable features such as worn-out floors. In most instances, painting a room in your home is a project that you can take on yourself, unless you're dealing with particularly challenging areas like steep staircases or exceptionally high ceilings. However, before you embark on your painting project, it's essential to familiarise yourself with the best practices for preparing your space, selecting the appropriate tools, and executing a professional-level application. To help you navigate this process seamlessly, our painters and decorators in Liverpool have developed a step-by-step guide. By following these guidelines, you can ensure a successful painting project from start to finish. Select the Perfect Paint Colour Navigating the vast array of paint colors offered at paint or DIY stores can be overwhelming. To determine the ideal color for your space, it is essential to observe how it appears under your room's lighting conditions, both natural and artificial, throughout the day. consider purchasing sample-size paint pots and applying the shades to a white poster board that can be hung up, or opt for peel-and-stick swatches. It is worth noting that directly painting the samples onto your wall may alter the true appearance of the colors, especially if your wall is not a basic white. Select the Perfect Finish for your Paint Colour After finalizing your color choice, another important decision awaits: selecting the appropriate finish for your paint. The finish significantly influences the paint's glossiness and durability once it dries. Paints typically offer a range of options, with varying levels of reflectiveness, spanning from matte to high gloss. It's essential to note that shinier finishes tend to highlight any imperfections on the walls, so smoother surfaces are more suitable for such finishes. Eggshell, a step up from flat, is a popular selection for walls in non-damp areas like living rooms and bedrooms. It strikes a balance between being glossy enough for easy scrubbing and matte enough to conceal minor flaws. When it comes to painting trim in these areas, it is advisable to opt for a satin or semi-gloss finish for enhanced durability and to create a contrasting effect. In bathrooms and kitchens, where moisture is a factor, it is generally recommended to use at least a satin finish for the walls. This choice facilitates effortless cleaning and provides better resistance against moisture-related issues. Satin or glossier finishes can also be used for the trim in these areas. When it comes to ceilings, which are less prone to fingerprints and wear, matt paint is often the go-to option. Matt finishes are typically the most resilient when it comes to scrubbing clean. Additionally, using matt paint on ceilings ensures that excessive light reflection is avoided, allowing the focus to remain on the rest of the room's elements. Determine the amount of primer and paint required To accurately determine the amount of paint required for the room you plan to paint, utilising a paint calculator can be highly beneficial. B&Q offers a reliable paint calculator that can assist you in this task. It's important to remember that it is generally recommended to have enough paint for two coats. Consider the existing shade on the walls, as this may necessitate the use of a primer. Our painters and decorators in Liverpool suggest having the paint suppliers tint the primer gray when undergoing a significant color change. This approach effectively conceals the previous color and aids in the blocking process. A primer serves as a foundational coat that promotes adhesion of the topcoat while also blocking stains, imperfections, and mold. Although not always obligatory, a primer is particularly useful when transitioning from a light color to a dark one or when opting for a paint that already incorporates a built-in primer. Using a primer ensures a smoother application overall. In instances where you are transforming a room from a dark hue to a lighter one, such as transitioning from royal blue to baby pink, a separate coat of primer is definitely necessary. Additionally, if your walls are freshly plastered, modern paint may not adhere well to them. In such cases, starting with a primer is highly recommended. Protect yourself Prior to painting your walls and engaging in the sanding process, it is crucial to prioritize safety measures that shield you from potentially harmful particles. To achieve this, it is highly recommended to wear safety goggles along with a face mask or respirator. This is particularly important if your house predates 1978, as it may contain remnants of lead-based paint. Even though modern paint formulations generally have low levels of volatile organic compounds (VOCs), it is still advisable to protect your respiratory system and eyes by utilizing appropriate face and eye protection during the painting process. If feasible, it is also beneficial to open a window and maintain a slight opening until the paint has completely dried, which typically takes approximately one day. By adhering to these safety precautions, you can ensure the well-being of both your respiratory health and visual acuity. Prepare your surfaces Similar to the process of cleansing your face before applying makeup, preparing your walls is essential before initiating the painting process. According to Patrick O'Donnell, Farrow & Ball's international brand ambassador and color consultant, it is crucial to eliminate grease, oil, and dust by sanding and washing down your walls. Although this step may not be the most exciting, it is undoubtedly necessary. To begin, thoroughly clean your walls (and ceiling if it is part of the painting project) using a mixture of warm water and dish detergent. Using a cellulose sponge, gently wipe the solution onto the surfaces using a circular motion. Once the walls have dried, proceed to fill any holes or cracks by applying joint compound with the assistance of a putty knife. Next, carefully sand the surfaces using 220-grit sandpaper. This can be done manually or with the help of a sanding pole, as electric hand-sanders tend to be too aggressive for this purpose. In case you need to smoothen trim or molding, a sanding sponge designed for reaching tight spaces can be a useful tool. Lastly, take precautionary measures by removing light switch and outlet covers, rolling up rugs, and relocating furniture to the center of the room. To protect items from potential sprinkles or spatters, cover them with a drop cloth or plastic sheeting. Shannon Duvall, co-owner of HD Paint and Stain, a house painting company in Belleville, Illinois, emphasizes the importance of this step. By diligently following these instructions, you can ensure a well-prepared surface and a protected environment for your painting endeavors. Tape To achieve clean and professional-looking lines while preventing paint from bleeding into unwanted areas, painters' tape can prove to be an invaluable tool. For optimal results, Shannon Duvall, co-owner of HD Paint and Stain, recommends using a tape with "edge lock" feature that effectively minimizes leakage. Begin by taping off the section adjacent to the area you intend to paint. For instance, tape along the trim and ceiling before painting the walls, and tape along the edges of the walls prior to painting the trim or ceiling. When applying the tape, work in increments of about six inches, as this makes it easier to maintain a straight line. Press down firmly as you progress, and ensure a secure seal by running a putty knife or a damp cloth along the length of the tape. It is generally advised to let the tape "set" for 30 to 90 minutes, as recommended by most manufacturers, to allow it to adhere fully. While some experts argue that using the correct paint brush and technique can eliminate the need for taping, it is considered the most reliable approach for those new to painting. Marcum suggests that a high-quality, two-inch, short-handled paint brush can render taping unnecessary. However, for beginners, taping remains the surest method to achieve a neat and well-defined paint job. Use the Correct Tools A combination of rolling and brushing is commonly recommended by painters to achieve optimal results when applying paint. The recommended sequence involves starting with the ceiling, followed by the walls, and concluding with the trim. To begin, you will need a paint key (usually available for free at most paint stores) or a putty knife to open the paint can. It is advisable to stir the paint using a chopstick or stirring stick (another item often provided for free by paint stores) to ensure thorough blending of all the pigments. The initial step is "cutting in," which entails carefully applying a straight line of paint along the edge of the wall where it meets the molding, trim, or floor. It is also necessary to cut in around areas such as light switches, door and window frames, and other narrow spots. Shannon Duvall suggests dipping the brush about halfway into the paint, and tapping off any excess before gently but firmly applying it to the wall. She also recommends using a two- to four-inch angled brush for this process Subsequently, proceed to cover the majority of the walls and ceiling using a roller. Experts commonly recommend a nine-inch roller with a nap measuring half to one inch. Pour the paint into a roller tray, preerably an environmentally friendly reusable one, and coat the roller with paint through short, rapid dips. While the brushed edges are still wet, roll the paint onto the walls using a tight "W" pattern to ensure comprehensive coverage. It is advised to start with vertical strokes and then proceed horizontally to achieve complete coverage. Allow the paint to dry between coats, which typically takes two to four hours. However, it is important to consult the recommendations provided on the paint can for specific drying times. For painting the trim, employ a two-inch angled brush and utilise long, single strokes. According to Duvall, minimising brush marks is crucial since shinier trim paint tends to reveal imperfections more prominently. By following these guidelines, you can effectively navigate the process of painting various surfaces to achieve a polished and professional finish. Remove tape and clean up After applying the final coat of paint, it is important to follow the proper procedure for removing the blue painters' tape to avoid any unwanted damage. Allow the paint to partially dry, typically for about two to four hours, before beginning the tape removal process. Carefully pull the tape at a 45-degree angle, exerting gentle and slow pressure. It is crucial to note that if you wait until the paint has completely dried, there is a higher likelihood of inadvertently peeling off some of the paint along with the tape. In the case of using emulsion paint, it is recommended to clean the brushes and rollers promptly to ensure their optimal condition for future projects. This can be achieved by washing them with soap and warm water. Brush combs and a rag can prove useful in removing any excess paint before cleaning. On the other hand, if oil-based paints and primer were used, it is necessary to clean the brushes and rollers with a suitable solvent. Look for specific recommendations on the paint can regarding the appropriate cleaning method for oil-based products. By adhering to these instructions, you can ensure a smooth and successful tape removal process and maintain the longevity of your painting tools for future endeavors. For expert guidance and assistance with your upcoming painting and decorating project, consider contacting Painters and Decorators Liverpool. Our team of professionals can provide valuable advice tailored to your specific needs. Whether you require assistance with choosing the right color scheme, selecting suitable materials, or executing the painting and decorating process, our expertise can be instrumental in achieving your desired results. If you would like to explore more information about house painting, you can visit their dedicated page on domestic painting and decorating services
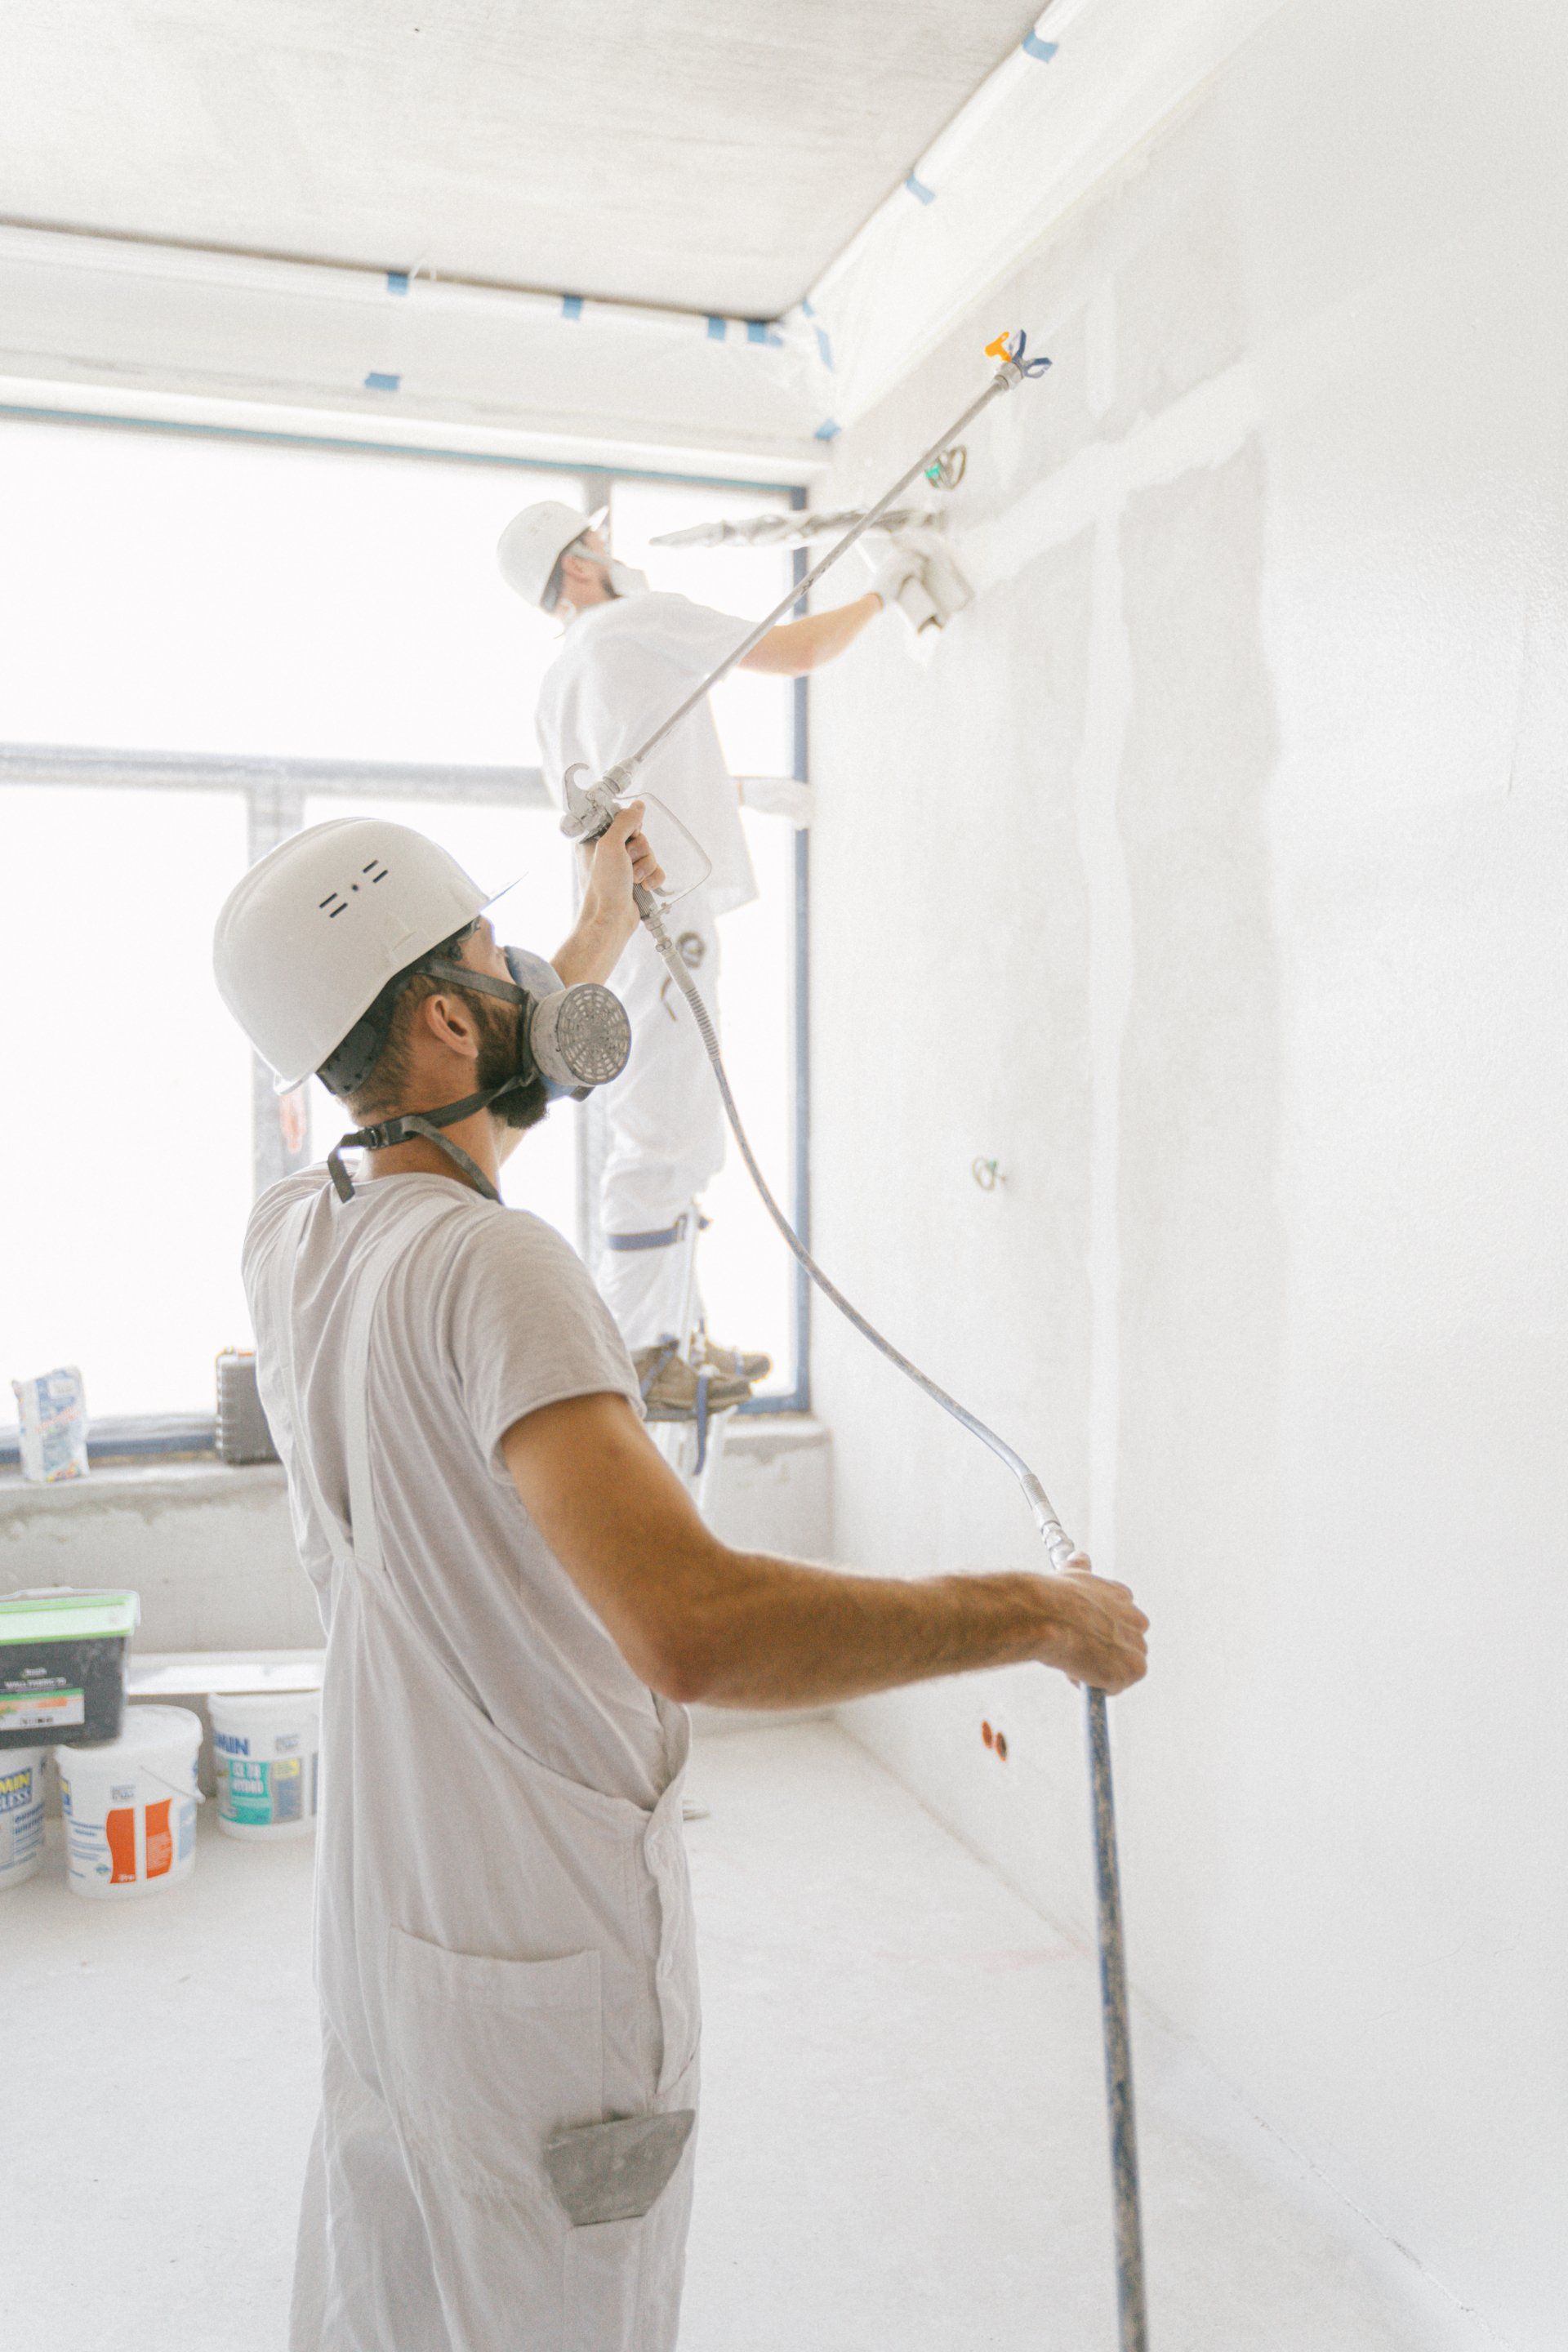
Painters and decorators Liverpool appreciate many property owners decide to pick up a brush and carry our their own decorating projects. However, some homeowners may be undecided whether to carry our the work themselves or to hire professional painters and decorators. Below, our painters and decorators in Liverpool give 5 reasons to hire the professionals. Correct Preparation One of the primary reasons for hiring professional painters and decorators in Liverpool is proper preparation. A professional decorator will take the time to correctly prepare the surface to maximise the look of the final finish. Preparation includes patching any holes, sanding and priming surfaces. Less time consuming In the current day and age where building owners have hectic schedules, hiring professional painters and decorators can free up your time. Doing the project yourself will take longer than if you hired a decorator to do it for you, who are used to working more efficiently in order to meet deadlines. No clean up needed Professional painters and decorators in Liverpool with a good reputation will keep any mess to a minimum, by laying dust sheets and removing furniture etc. They will also tidy up after themselves and no the correct way to dispose of any waste, Taking on a decorating project by yourself can easily create more mess which is time consuming to clear up once you have finished. The already have the tools for the job Painters and Decorators Liverpool recommend hiring the professionals because they will already have the tools required for your job, this includes dust sheets, ladders, brushes, rollers, sprayers, paint trays, paint remover, scrapers etc. Taking on the job yourself will require you to purchase all the tools and equipment yourself which could end up costing you more. They have experience A top reason for choosing professional painters and decorators, is they have the experience to maximise the finish of your project. They will know the correct procedures to follow when preparing the surface and applying the paint. The will also know the correct paint to use for each surface. Homeowners, without this wealth or experience, are likely to make mistakes which could compromise the final finish. Contact Painters and Decorators Liverpool today for professional guidance and your free competitive quote. Check out our property renovation friends - Roofers Leeds , Roofing London.
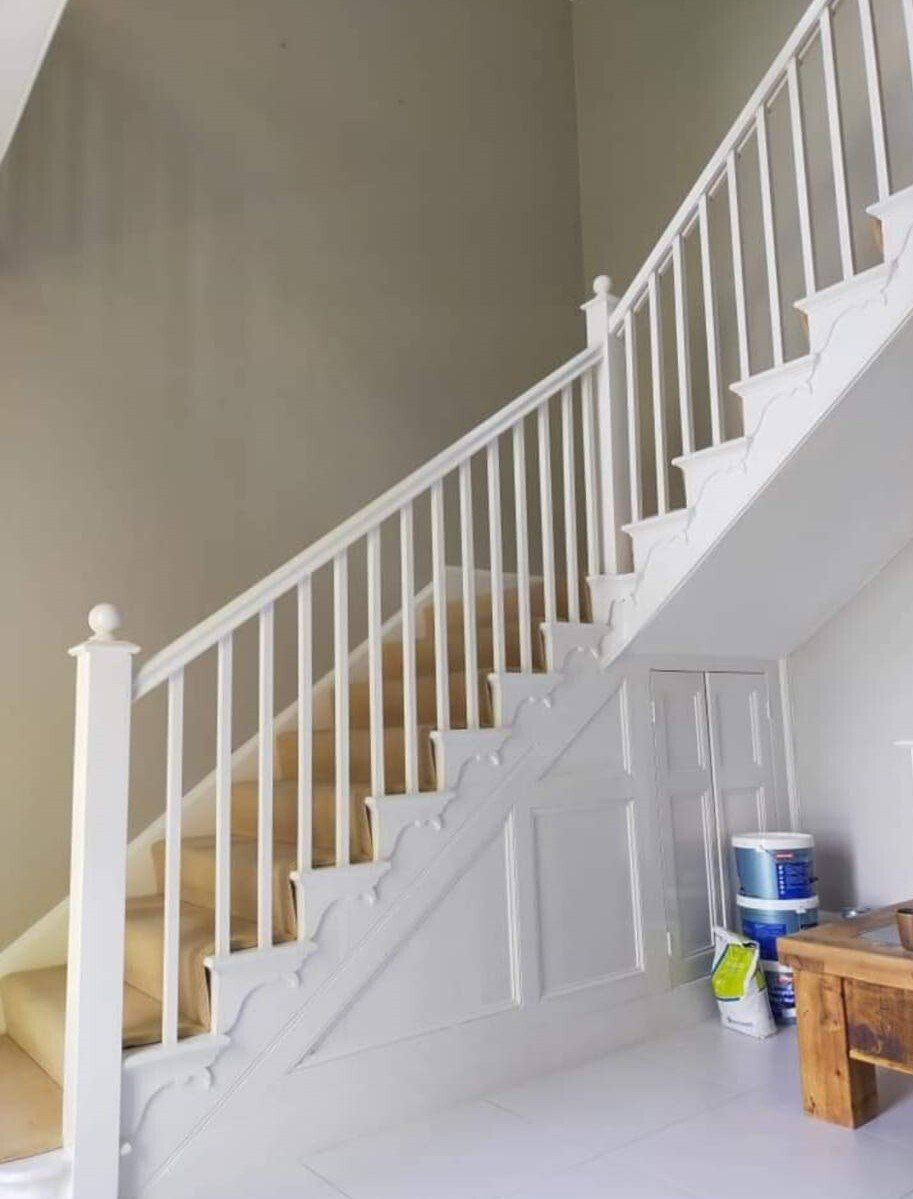
Here at Painters and Decorators Liverpool, we aim to be a reliable and trustworthy source for information on interior and exterior painting and decorating. That is why we have dedicated this month's blog to highlighting the top 5 painters and decorators in Liverpool. Read on to find out more. #1 Gecko Interiors Gecko Interiors is a female painting and decorating service. The company offers comprehensive painting and decorating solutions across the north-west, this includes painting and wallpapering. The company has grown largely from recommendations and provides residential and commercial painting and decorating.. The foundations of the business are based on high standards of work and a friendly and reliable service. #2 AC Painters and Decorators AC Painters and Decorators undertake interior and exterior painting and decorating and have built a reputation for a high standard of workmanship in Liverpool and surrounding areas. The company has been operating for over 15 years and has the capabilities to tackle big and small jobs. The business prides themselves on professional, competitive and friendly service. #3 JC Painting and Decorating JC are painters and decorators in Liverpool. They are a family run business with over 20 years of experience. The company offers free no obligation quotes and takes pride in offering a high quality of workmanship. #4 AB Wooding & Son Decorators AB Wooding and Son Decorators have over 35 years of experience on the industry. They undertake all size of work and provide free no obligation quotes. The company is fully insured. Although they are based in Liverpool, AB Wooding and Son Decorators cover surrounding areas. #5 Painters and Decorators Liverpool Last but not least is us, Painters and Decorators Liverpool. We have over a decade of experience in the industry and our contractors cover all type of work on domestic, industrial and commercial properties across Liverpool and surrounding areas. Our Painting and Decorating Liverpool team have experience undertaking interior and exterior jobs and are fully insured. We pride ourselves on our high quality of workmanship and offer free competitive quotes. We aim to not be beaten on price. Visit our property improvement friends - Roofers Manchester
